Design tips, Vol. 3
A short post this week with a few more general design tips.
Keep your feature tree clean
Sometimes you need to model something a bad way before the correct way is clear. The test of a good CAD designer is whether or not they go back and do this. Sometime it requires that you break the model to do it and that takes some courage.
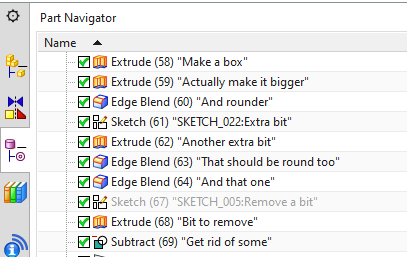
Some features seem super stable, regardless of what CAD system. Delete-face and replace-face features seem like they should be super fail prone but the opposite is generally true. Drafting a face is more stable than extruding an extra drafted bit onto it- The CAD system usually realises that a draft just moves the same face but once you add an extrude, it’s a “new” face so subsequent dependent features tend to fail. Blends/Fillets are always an unstable bastard. Keep them at the end of the feature tree if possible.
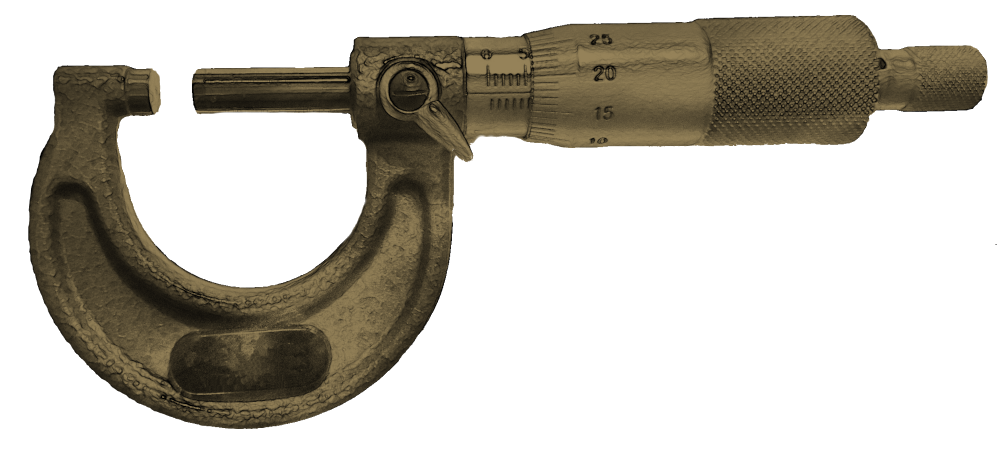
Torque limiting features
You may find yourself in a position where you need to physically limit the amount of torque that can be applied to a component. This could be that you have to design something that makes pinch points unavoidable. It could also be required to stop the machine destroying itself in the event of another component’s failure or interference. You have a few options up your sleeve in these cases. You can limit the torque that can be applied electronically if you are using a VFD (though I wouldn’t rely on this if it’s a safety issue), you could use a drive method that allows some slip like a vee belt (which as with the VFD method is a bit guessy and imprecise). There’s another option that you may not have heard of. An off-the-shelf torque limiter.

You can buy these integrated into a sprocket if you are making a chain drive or you can buy them in the form of a hub to be adapted to whatever you like. They are adjustable and a quite nifty. A couple of caveats on this- If it’s a safety issue, of course, eliminating the hazard (if it’s an option) is much better than mitigating it like this and also you should accompany this with labels, signs, bright colours, sirens, lights, guards, etc. Also, when testing them, I would advise using a carrot instead of just sticking in your finger like an idiot.
Laser cut pilot holes for naughty engineers
Do you like breaking taps? Me either but I regret nothing and shall continue to do so. I find that in a lot of my designs, I’ll need lots of relatively small threads here and there for things like cable clamps, cover plates, solenoid valves, and so on. I’ll often laser cut these at pilot hole size and then tap them as-is with no further prep. This works just fine for holes in the M3 to M6 range. Also, in this size range, I’ll tap them with the tap in a hand drill. A few caveats on this. I’ll lubricate the tap between each hole, I run the drill slow and I’m very careful to keep the angle right. And yes, I’ll break a tap every now and then. This costs me $15 for a tap but saves me a few hours of fooling around with a tap handle.
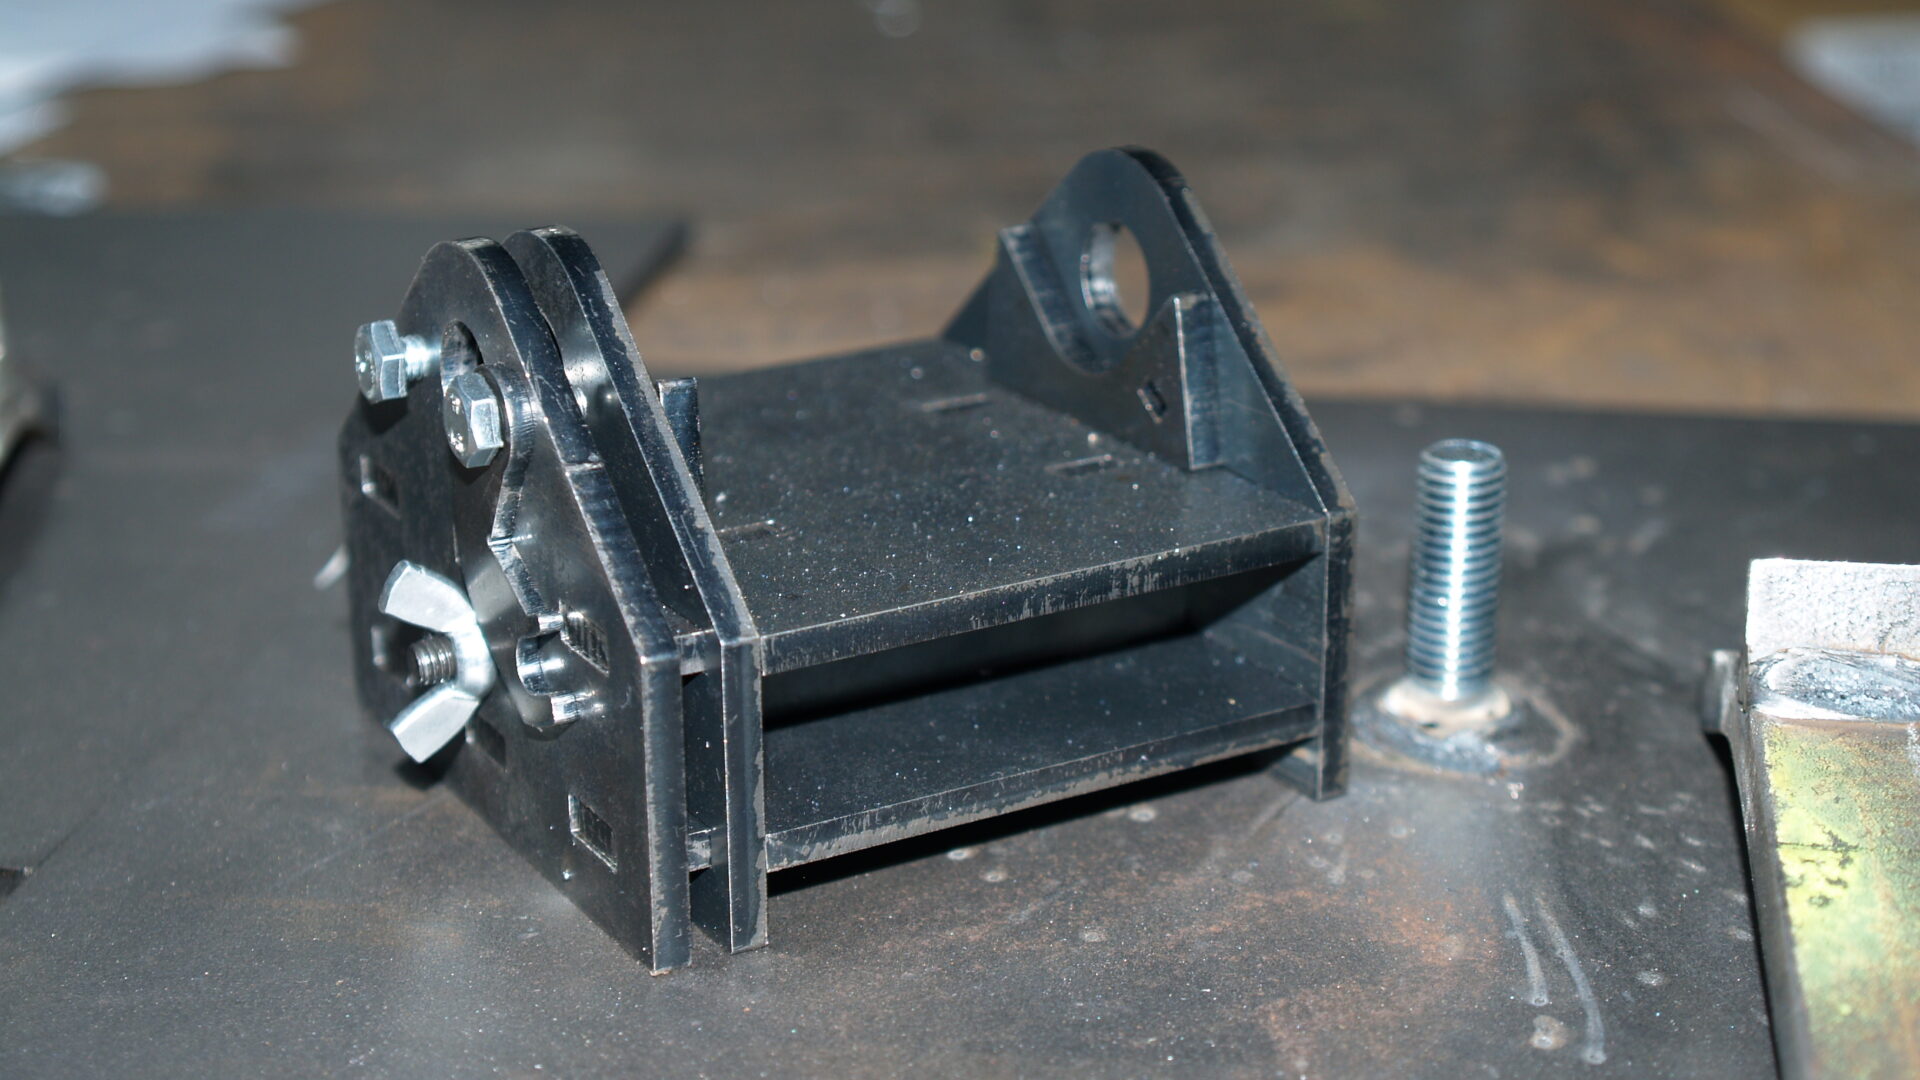
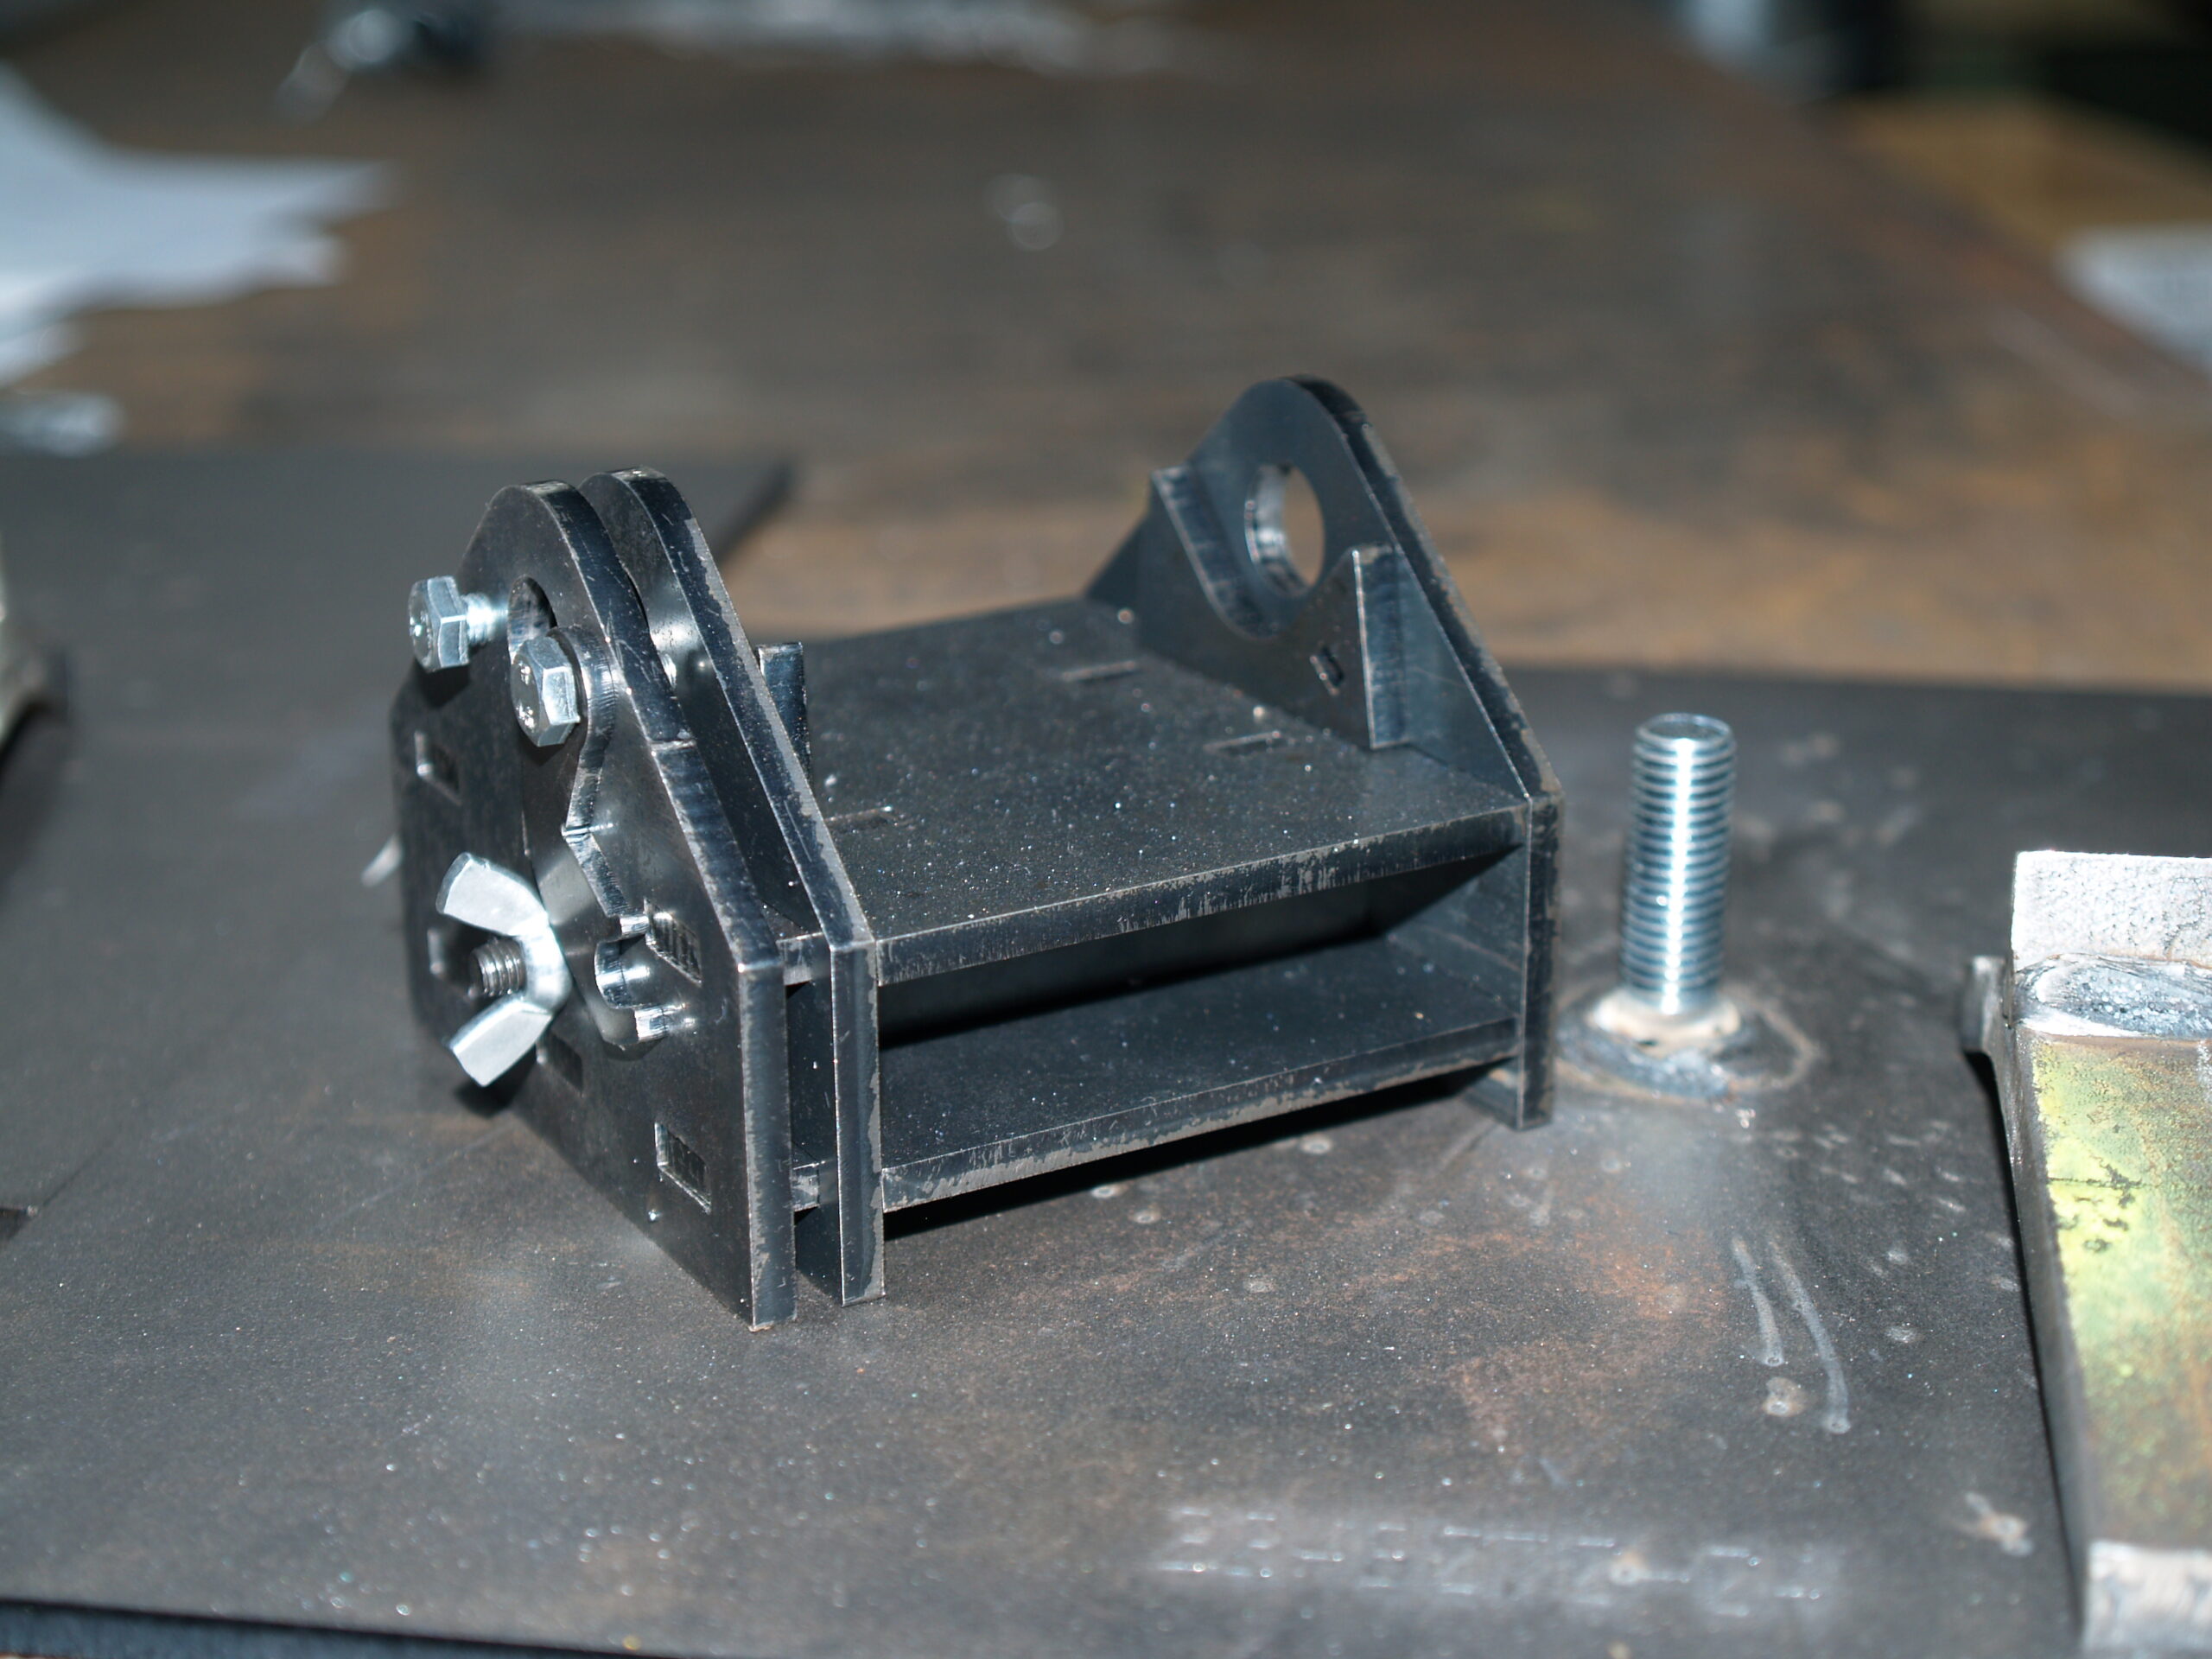
No-weld laser-cut fixtures
Need to make a quick fixture? If you get creative with your laser cutting, you may be able to avoid welding alltogether and just hold it together with a few bolts. This will likely require a few extra laser cut parts but this will likely increase cost buy about ten dollars compared to the inconvenience of fabrication. I have a photo below to give you some ideas.

That’s all for today. Have fun and keep your feature tree clean.
So good man, keep this up!!
I will say my feature tree looks like a bloody jungle, I shouldn’t be allowed near cad.
Thanks for the feedback, Phil. Much appreciated!