Cable routing
As a beginning engineer, cable routing was an irritating afterthought- something to be figured out during the build. As I progressed through my first few projects, I started thinking about cabling earlier and earlier in the build. Here’s some things I’ve learned about that.
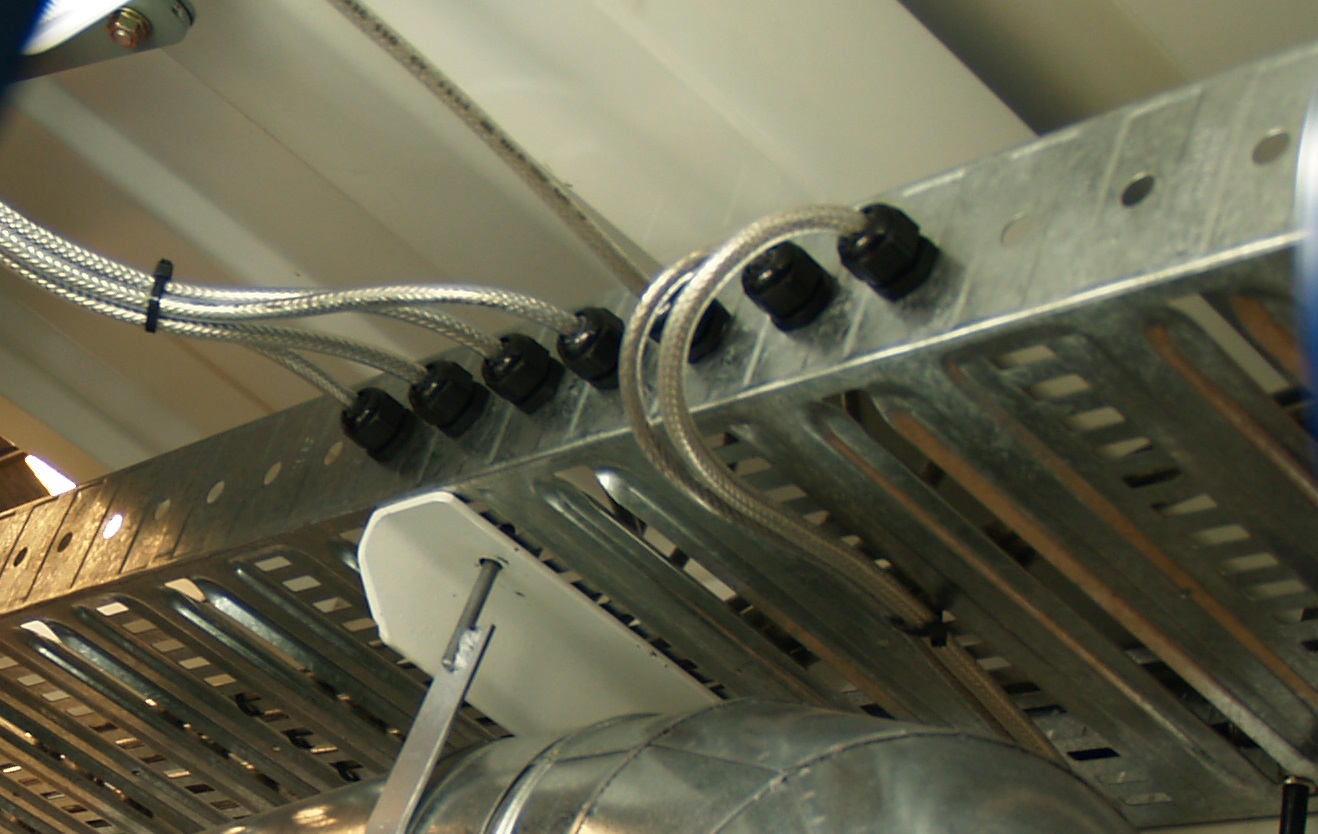
Running cables through RHS members
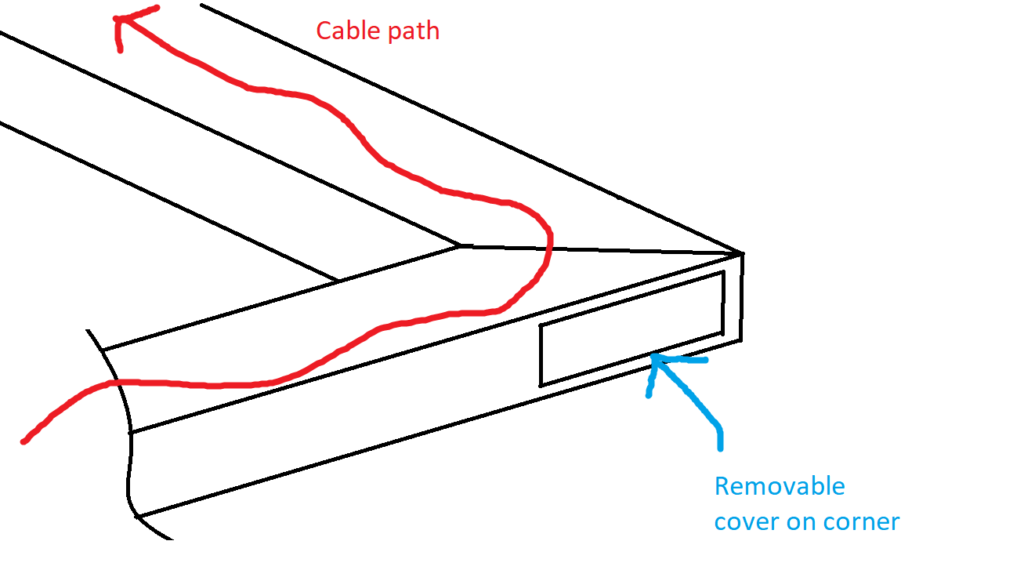
If you have a machine with an RHS frame, you might be able to get sneaky and route your cables through the members. This makes for a very clean and nice looking machine but you do need to be careful. It’s harder to run cables this way. In addition to the usual gland plates at the entry and exit to the RHS frame, you need to have removable plates at each corner in order to get the cables through. Otherwise, even if you do manage to get past the corner, you’ll be dragging the cable over the sharp internal corner as you pull it through.
You need to be very careful not to overfill RHS cable conduits. If you are running shielded cables, they can be surprisingly thick. I once game to grief on a machine that I’d planned for conventional power cables but the electrician preferred to use shielded cables for everything and I ran out of room.
Another alternative to this is to use Unistrut or EZstrut channel which can be capped off in a variety of ugly non-matching colours. It’s much easier to route through if you have the option. This also overcomes the final downside of RHS cable ducts which is that it’s hard to trace wires via strategic wiggling.
Laser cutting a gland plate
If you’re building a machine of a decent size (but not so large that the control cabinet is sitting on a plinth), you’ll have an electrical cabinet with a removable plate on the bottom that you can drill holes of various sizes in to mount cable glands. You will likely end up with a lot of holes to be made. It’s usually a good move to throw this plate in the scrap bin and have a gland plate laser cut with all the penetrations you need.
Cable trays
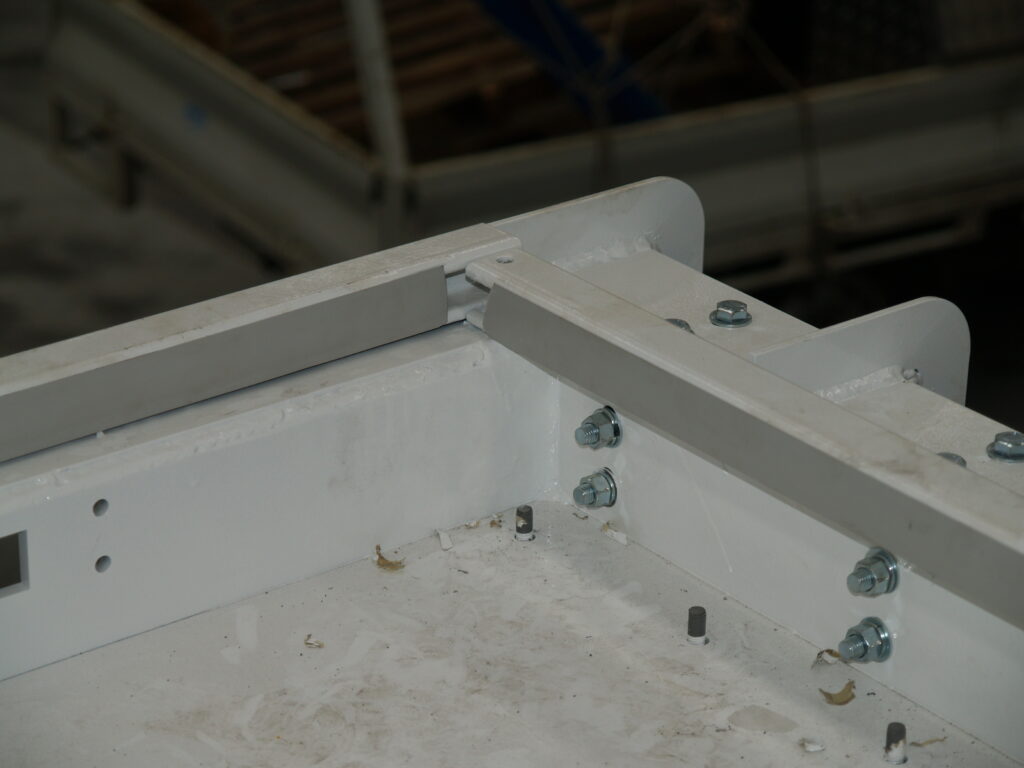
Cable trays are a necessary evil. The straight sections and lids are easy enough to figure out but for a machine, we typically need lots of twists and turns. Fortunately, they are designed to accommodate this. You can simply cut the sides, bend the tray and install a curve plate. This results in a bend radius so large that you will probably need to rent the factory next door to accommodate it. If your supplier has right angle fittings, they are probably more appropriate. Also, the mounts are intended to either clamp the tray down or dangle down on lengths of threaded rod- there’s no solution for solidly clamping to the underside of something. So you may have to get creative.
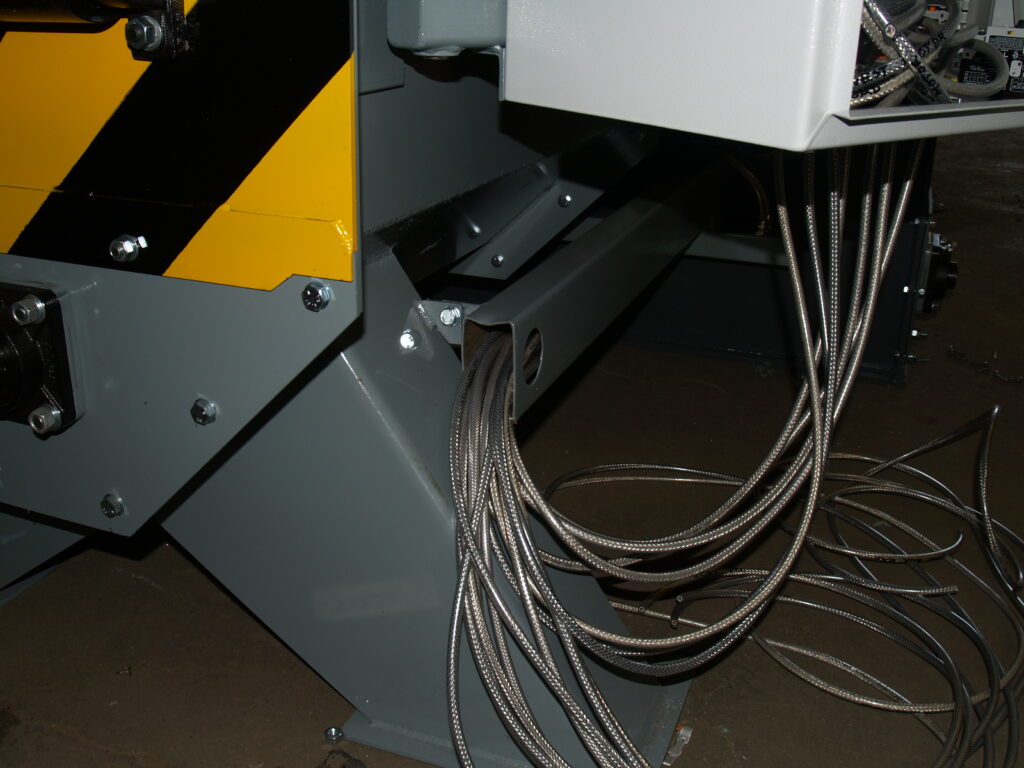
Though limited in its mounting and corner options, cable trays are still a breeze to run cables through once mounted and with a little bit of planning you can make things easy for yourself. Below is an image of a machine similar to the one that I used an RHS cable duct on. This time, I laser cut a rectangular hole in every base member so I could slide a cable tray into it.
Don’t run VSD cables alongside your encoder cables
This is an easy trap to fall into. Encoders operate with a fairly weak pulse signal that is susceptible to electrical interference. Variable Speed Drives use pulse width modulation in order to generate an AC output and can be quite noisy. Keep the cables for these well away from each other. You might get away with routing them at opposite sides of a wide (150mm+) cable tray though I’d prefer to have them in their own. Using VSD cable doesn’t stop this from happening. If you fail to do this, everything will work fine except your encoder will appear to be running slightly faster than expected. It can be a frustrating thing to troubleshoot.

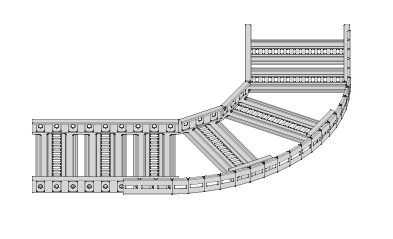
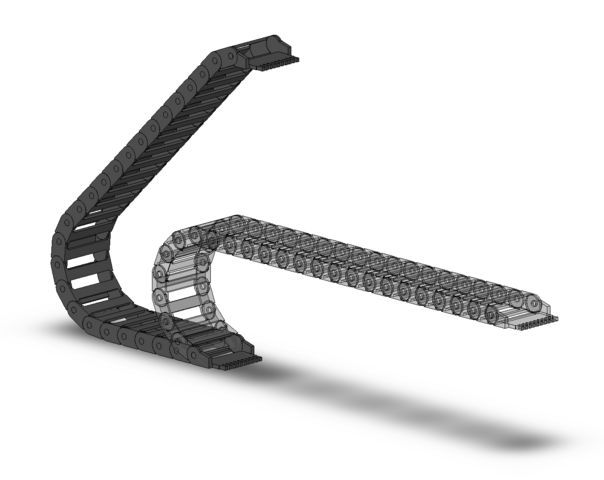
Drag chains / Cable chains / Energy chains
Whenever you are routing cables to something that’s moving, you should use a drag chain. These will help to stop your cables from fatiguing, pinching, kinking, etc. Most suppliers like Igus and Kabelschlepp have good CAD of these to make things easier. They have good manuals, too, so rather than me repeating it here, if you aren’t familiar, go check them out.
If you’re reading this, you’re already most of the way there
Ultimately, the increase in quality of cabling on my machines over time wasn’t the result of a few tricks and tips but rather a change of mindset. I stopped thinking of electrical installation as something annoying that I had to deal with before moving to the next project and started to think of it as a way to demonstrate forethought and make a polished design. From here, it’s just a matter of being strict with yourself. Everywhere the electrons need to go, there must be a duct, a tray, a conduit- something! Your electrician will thank you.